
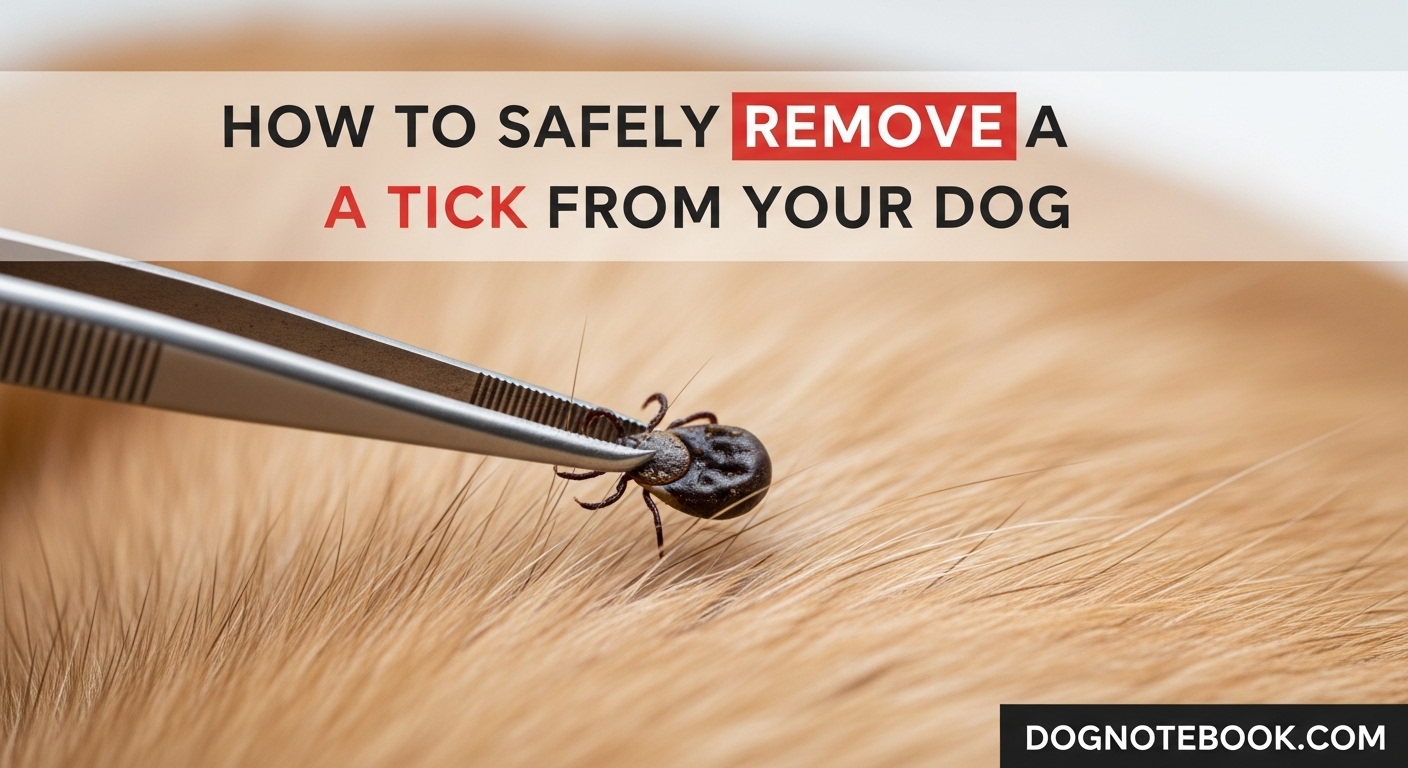
Finding a tick on your dog can be alarming, especially when you realize how quickly disease transmission can begin. As a dog owner who has dealt with dozens of tick situations over the years, I can tell you that knowing how to safely remove a tick from your dog is one of the most practical skills you will ever learn. The good news is that with the right technique and a steady hand, you can remove a tick in under a minute and dramatically reduce your dog’s risk of illness.
This guide walks you through every step of the process, from finding the tick to disposing of it properly. I will also cover the tools you need, the mistakes most people make, and what to watch for in the weeks after removal. Whether you have a new puppy or a senior dog, these techniques will keep your pet safe during tick season and beyond.
Table of Contents
What Are Ticks and Why Does Quick Removal Matter?
Ticks are small, blood-feeding parasites related to spiders and mites. They have eight legs and range in size from a poppy seed (nymph stage) to a small bean when fully engorged with blood. Over 200 tick species live in the United States alone, and many of them carry pathogens that can make your dog seriously ill.
What makes ticks particularly dangerous is how they feed. A tick embeds its mouthparts, which have harpoon-like barbs, into your dog’s skin. As it feeds, it can transmit bacteria, viruses, and protozoa directly into your dog’s bloodstream. Research shows that disease transmission can begin within 3 to 6 hours of attachment, which is why finding and removing ticks quickly matters so much.
Ticks do not jump or fly. They wait on blades of grass, bushes, and leaf litter, then grab onto your dog as it passes by. This behavior, called questing, means your dog picks up ticks simply by walking through the wrong patch of grass. Once attached, a tick can feed for several days if left undisturbed, increasing the risk of tick-borne disease with every hour that passes.
What You Need Before Removing a Tick
Before you start the removal process, gather the right supplies. Having everything ready means you can work quickly and calmly, which reduces stress for both you and your dog.
The most important tool is a pair of fine-point tweezers. Fine-point tweezers let you grab the tick right where it meets the skin, which is essential for clean removal. Standard flat-tip tweezers are too blunt and tend to squeeze the tick’s body, which can push infected fluid back into your dog. If you spend time in tick-heavy areas, I highly recommend getting a dedicated tick removal tool like a tick hook or tick removal device, which are specifically designed for this job.
Here is what to have on hand:
- Fine-point tweezers or a tick removal hook (like a Tick Tornado or tick removal tool)
- Disposable gloves (latex or nitrile)
- Rubbing alcohol or antiseptic solution
- A small container, zip-top bag, or jar filled with isopropyl alcohol for the tick
- Treats to reward and distract your dog
- A helper if your dog tends to squirm
If you are using a tick removal hook, the technique differs slightly from tweezers. I will cover both methods in the step-by-step section below. The key takeaway is that either tool works well when used correctly, so use whichever you have available.
How to Check Your Dog for Ticks
Running a thorough tick check after every outdoor walk during peak tick season (spring through autumn) is one of the best habits you can build. Ticks take time to find their feeding spot, so checking right after a walk gives you the best chance of catching them before they attach.
Run your hands slowly over your dog’s entire body, feeling for small bumps or hard lumps. Pay special attention to the areas ticks love most: inside and around the ears, under the collar, in the armpits, between the toes, around the groin, under the tail, and along the eyelids. These spots are warm, protected, and easy for a tick to reach without being disturbed.
For dogs with long or thick fur, part the hair in sections and look at the skin underneath. A flashlight helps in low-light conditions. An unattached tick looks like a small, dark speck that moves slowly. An attached tick will appear as a raised bump with tiny legs visible near the skin surface. Engorged ticks are much easier to spot because they swell to several times their original size.
How to Safely Remove a Tick From Your Dog: Step-by-Step
This is the core process. Follow these steps exactly, and you will remove the tick cleanly without increasing your dog’s risk of infection. I have used this method dozens of times on my own dogs, and it works reliably every time.
Step 1: Put on gloves and stay calm. Gloves protect you from potential contact with tick-borne pathogens. Take a breath and move deliberately. Your dog picks up on your energy, so staying calm helps them stay still.
Step 2: Part the fur around the tick. Use your fingers or a comb to expose the tick completely. You need a clear view of where the tick meets your dog’s skin. If the fur is thick, dampening it slightly with water can help hold it back.
Step 3: Grasp the tick as close to the skin as possible. Using your fine-point tweezers, position the tips right at the base of the tick where it enters the skin. You want to grip the tick’s head and mouthparts, not the rounded body. Getting this grip right is the single most important part of safe tick removal.
Step 4: Pull straight up with steady, even pressure. Do not jerk, twist, or yank. Apply a slow, steady upward pull. The tick will release its grip and come free, usually within a few seconds. If it feels stuck, maintain the pressure rather than increasing force suddenly.
Step 5: If using a tick removal hook, slide then twist. Slide the fork of the hook between the tick and your dog’s skin, getting as close to the skin as possible. Then twist clockwise (or counter-clockwise, depending on the tool’s instructions) until the tick comes loose. Most tick hooks require 2 to 4 full rotations. The twist motion backs the mouthparts out rather than pulling them, which some owners find easier.
Step 6: Check the tick. Look at the removed tick to confirm the mouthparts are intact. The tick should be whole, with visible legs and a small area at the front where the mouthparts attach. If the tick looks broken or you notice something still embedded in the skin, see the section below on what to do if the head stays in.
Step 7: Place the tick in alcohol. Drop the tick into your container of isopropyl alcohol. This kills the tick and preserves it. Keeping the tick in a sealed container for a few days allows your vet to identify it if your dog later shows symptoms of illness.
Step 8: Disinfect the bite area. Clean the bite site on your dog’s skin with rubbing alcohol or a pet-safe antiseptic. Wash your own hands thoroughly with soap and warm water, even if you wore gloves.
Step 9: Reward your dog. Give your dog a treat and some reassurance. This builds a positive association with handling, making future tick checks and removals easier.
What NOT to Do When Removing a Tick
Some common tick removal methods that get passed around actually make things worse. These mistakes can increase disease transmission risk, hurt your dog, or leave tick mouthparts behind. Here are the things you should absolutely avoid:
- Do not use Vaseline, petroleum jelly, or oils. Suffocating a tick does not make it back out. Instead, a stressed tick may regurgitate into the bite wound, which increases the chance of disease transmission.
- Do not use a hot match or lighter. Burning a tick attached to your dog’s skin is dangerous for both of you. The heat can burn your dog and cause the tick to release infected fluids into the wound.
- Do not squeeze or crush the tick’s body. Squeezing forces bacteria-laden fluid from the tick back into your dog’s bloodstream. Always grip at the head, near the skin.
- Do not twist when using tweezers. Twisting with tweezers can break the tick, leaving the mouthparts embedded. Only twist when using a tool specifically designed for that motion, like a tick hook.
- Do not use your bare fingers. Crushing a tick between your fingers exposes you to disease. Always use tweezers, a tool, or gloves at minimum.
- Do not apply nail polish, rubbing alcohol, or dish soap to a live attached tick. These home remedies do not work and can agitate the tick, increasing disease risk.
The internet is full of folk remedies for tick removal, from covering the tick in soap to freezing it with ice. None of these methods are supported by veterinary professionals. Stick with mechanical removal using tweezers or a tick hook. It is fast, effective, and backed by organizations like the AKC, RSPCA, and Red Cross.
What to Do After Removing a Tick From Your Dog
The moments right after tick removal are just as important as the removal itself. Taking the right steps now prevents infection and gives you a plan if symptoms appear later.
Clean and monitor the bite site. After disinfecting with rubbing alcohol, apply a small amount of antibiotic ointment if your vet recommends it. Check the area daily for the next few days. Some redness and mild swelling right after removal is normal, but spreading redness, pus, or worsening inflammation signals an infection that needs veterinary attention.
Save the tick for identification. Place the tick in a sealed container or zip-top bag with a piece of damp paper towel, or keep it in the alcohol jar. Label it with the date and location on your dog’s body where you found it. If your dog develops symptoms in the coming weeks, your vet can identify the tick species and test it for disease-causing pathogens.
Watch your dog for the next 2 to 4 weeks. Tick-borne diseases like Lyme disease can take weeks to produce symptoms. Look for lethargy, loss of appetite, fever, limping, swollen joints, or enlarged lymph nodes. If you notice any of these signs, contact your vet immediately and mention the tick bite.
Note the date and details. Write down when you found the tick, where it was attached, how long you think it had been there, and whether you removed it completely. This information is valuable for your vet if problems arise later.
What to Do If the Tick Head Stays In Your Dog’s Skin
This is one of the most common concerns I hear from dog owners, and it happens more often than you might think. When the tick’s body separates from its mouthparts during removal, a small dark speck may remain visible in your dog’s skin.
First, do not panic. The mouthparts left behind are not the same as a tick “head” and they cannot transmit disease on their own. In most cases, your dog’s body will treat the remaining mouthparts like a small splinter and expel them naturally over a few days.
If you can see the mouthparts clearly and they are accessible, you can try to remove them gently with sterilized fine-point tweezers, the same way you would remove a splinter. If they do not come out easily, leave them alone. Do not dig around in the skin trying to find them, as this causes more tissue damage and increases infection risk.
Apply antiseptic to the area and monitor it daily. If the site becomes red, swollen, or starts oozing pus after 2 to 3 days, contact your vet. They can remove any remaining fragments safely and prescribe antibiotics if needed.
Removing Ticks From Sensitive Areas (Ears, Eyelids, Between Toes)
Ticks seem drawn to the warm, protected crevices of your dog’s body, which often means you will find them in tricky spots. Removing ticks from sensitive areas requires extra patience but follows the same basic principles.
Eyelids. Ticks on or near the eyelid margin require extreme care. If the tick is on the outer eyelid skin, you can use fine-point tweezers with the same pull-straight-up technique, but work very slowly and support the eyelid with your other hand. If the tick is attached to the eyelid margin itself or very close to the eye, I strongly recommend having your vet remove it. The tissues around the eye are delicate, and even small mistakes can cause corneal damage.
Ears. The inside of the ear flap is a favorite tick hiding spot. Have a helper hold your dog’s head steady. Gently fold the ear back to expose the tick. Use your tweezers or tick hook as you normally would, pulling straight up. If the tick is deep inside the ear canal, do not reach in blindly. Your vet has the tools and lighting to remove it safely.
Between toes. Ticks between toes can be painful for your dog, which makes them flinch. Have your helper hold the paw steady. Spread the toes apart with your fingers and use tweezers to grip the tick close to the skin. A tick hook often works better in this area because the twisting motion requires less precision than the straight-pull method in a tight space.
Puppies. Puppies are wiggly, their skin is more sensitive, and they have less patience for handling. Enlist a second person to hold the puppy and offer distractions. A spoonful of peanut butter or a high-value treat smeared on a lick mat works wonders for keeping a puppy still during removal. Use the gentlest technique possible, and if the tick is in a sensitive area, do not hesitate to call your vet for help.
Tick-Borne Diseases in Dogs: What to Watch For
Understanding the diseases ticks carry helps you recognize symptoms early, when treatment is most effective. Here are the most common tick-borne diseases that affect dogs.
Lyme disease is the most widely known tick-borne illness, transmitted primarily by deer ticks (black-legged ticks). Symptoms typically appear 2 to 5 months after a tick bite and include fever, lethargy, loss of appetite, swollen lymph nodes, and shifting lameness (limping that moves from one leg to another). Lyme disease is treatable with antibiotics, but early detection leads to better outcomes.
Babesiosis is caused by microscopic parasites that infect red blood cells. It is spread by several tick species and can cause anemia, dark-colored urine, fever, and weakness. Babesiosis can be severe in dogs with no previous exposure, so prompt veterinary care is important.
Ehrlichiosis is transmitted by the brown dog tick and can cause fever, lethargy, weight loss, bleeding disorders, and neurological symptoms. Chronic ehrlichiosis can develop if the initial infection goes untreated, leading to more serious complications.
Anaplasmosis causes symptoms similar to Lyme disease, including fever, joint pain, vomiting, and diarrhea. It is carried by the same deer ticks that transmit Lyme disease, so co-infection is possible.
When to see a vet: If your dog shows any of the following signs within weeks of a known tick bite, schedule a vet visit right away: persistent fever, unexplained limping, severe lethargy, loss of appetite lasting more than a day, swollen joints, or any unusual bleeding. Bring the saved tick if you still have it, and share the date and location of the bite.
How to Prevent Ticks on Your Dog
The best tick removal is the one you never have to do. Prevention takes some effort, but it is far easier than dealing with tick-borne illness.
Use veterinary-approved tick prevention. Monthly spot-on treatments, tick collars, and oral preventives are the most effective tools. Talk to your vet about which product suits your dog’s age, size, and health status. Many preventives also protect against fleas and other parasites.
Check your dog daily during tick season. Peak tick season runs from spring through autumn, but ticks can be active any time temperatures are above freezing. Make tick checks part of your post-walk routine, especially after hikes through woodland, grassland, or areas with tall vegetation.
Manage your yard. Keep grass mowed short, remove leaf litter, and create a barrier of wood chips or gravel between your lawn and wooded areas. Ticks thrive in damp, shaded environments, so letting sunlight into your yard reduces their habitat.
Avoid known tick hotspots when possible. If you walk through areas with heavy tick activity, stick to the center of trails and avoid brushing against tall grass or bushes. A quick tick check immediately after the walk catches most ticks before they attach.
FAQ
What is the safest way to remove a tick from a dog?
The safest way is to use fine-point tweezers, grasp the tick as close to your dog’s skin as possible, and pull straight up with steady, even pressure. Do not twist, squeeze, or jerk. If you have a tick removal hook, slide it under the tick and twist gently until the tick releases. Always wear gloves and disinfect the bite area afterward.
What will draw a tick head out?
Nothing needs to draw it out. If the tick’s mouthparts break off and stay in your dog’s skin, the body will usually expel them naturally within a few days, similar to how it handles a splinter. Do not dig around trying to remove them. Clean the area with antiseptic and monitor for signs of infection. See your vet if redness or swelling worsens after 2 to 3 days.
How quickly do I need to remove a tick from a dog?
Remove the tick as soon as you find it. Disease transmission can begin within 3 to 6 hours of attachment, and the risk increases the longer the tick stays embedded. Do not wait until you have the perfect tool. Fine-point tweezers or a tick removal hook are ideal, but prompt removal with whatever safe tool you have is better than delayed removal with the perfect tool.
How long does it take for a tick to transmit disease to a dog?
Pathogen transmission can begin in as few as 3 to 6 hours after a tick attaches and starts feeding. The risk increases the longer the tick remains attached. Some diseases, like Lyme disease, may require 24 to 48 hours of attachment to transmit, but others can spread more quickly. This is why daily tick checks and prompt removal are so important for your dog’s health.
Final Thoughts on Safe Tick Removal
Learning how to safely remove a tick from your dog is straightforward once you have practiced it a few times. The process comes down to three essentials: use fine-point tweezers or a tick hook, pull straight up with steady pressure, and act quickly. Everything else, from prevention to post-removal monitoring, supports that core action.
Keep a tick removal kit in your home and another in your car or hiking bag so you are always prepared. The faster you remove a tick, the lower the risk to your dog. Combine that with regular tick checks during peak season and a good preventive treatment, and you will keep your dog safe from the diseases ticks carry all year long.